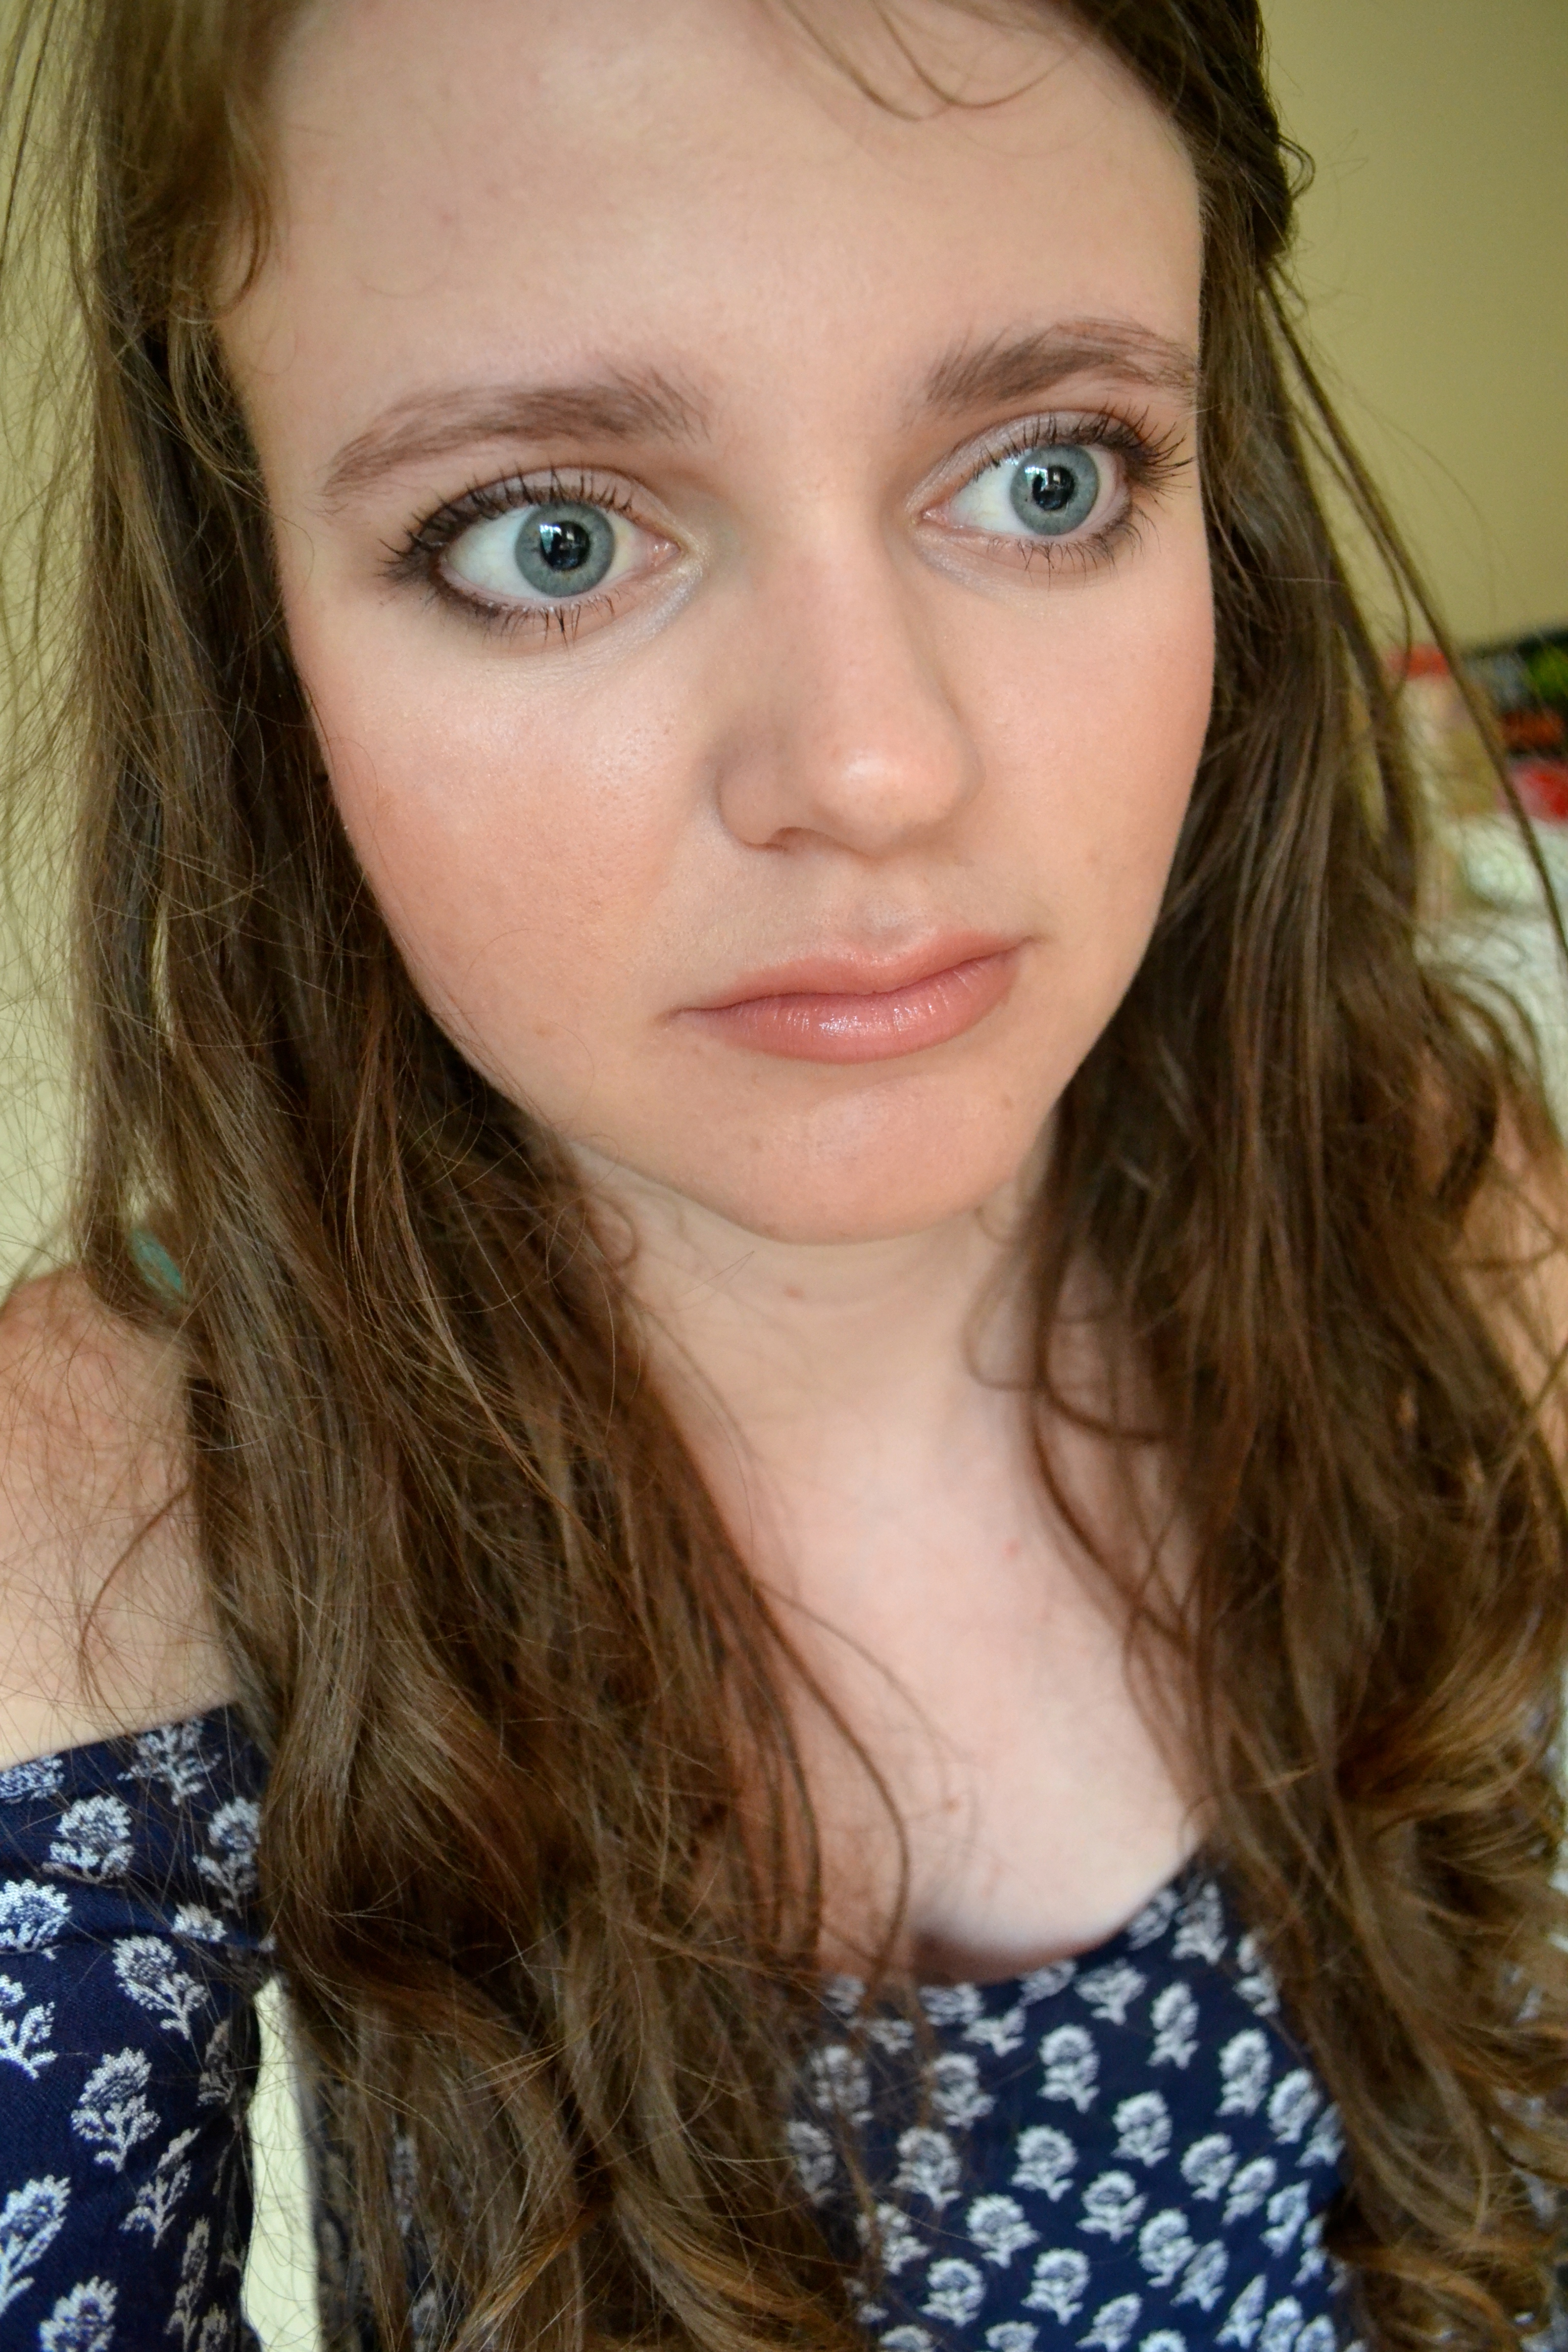
I’m neither someone who has an authentic affinity for minimal product makeup or the kind of makeup that hardly looks like its there but after countless attempts at both, I have to say that I’ve been far more successful with the latter and I figured I would share the countless steps I took to give the illusion of not wearing makeup unless one was to examine my face ultra-close with meticulous detail.
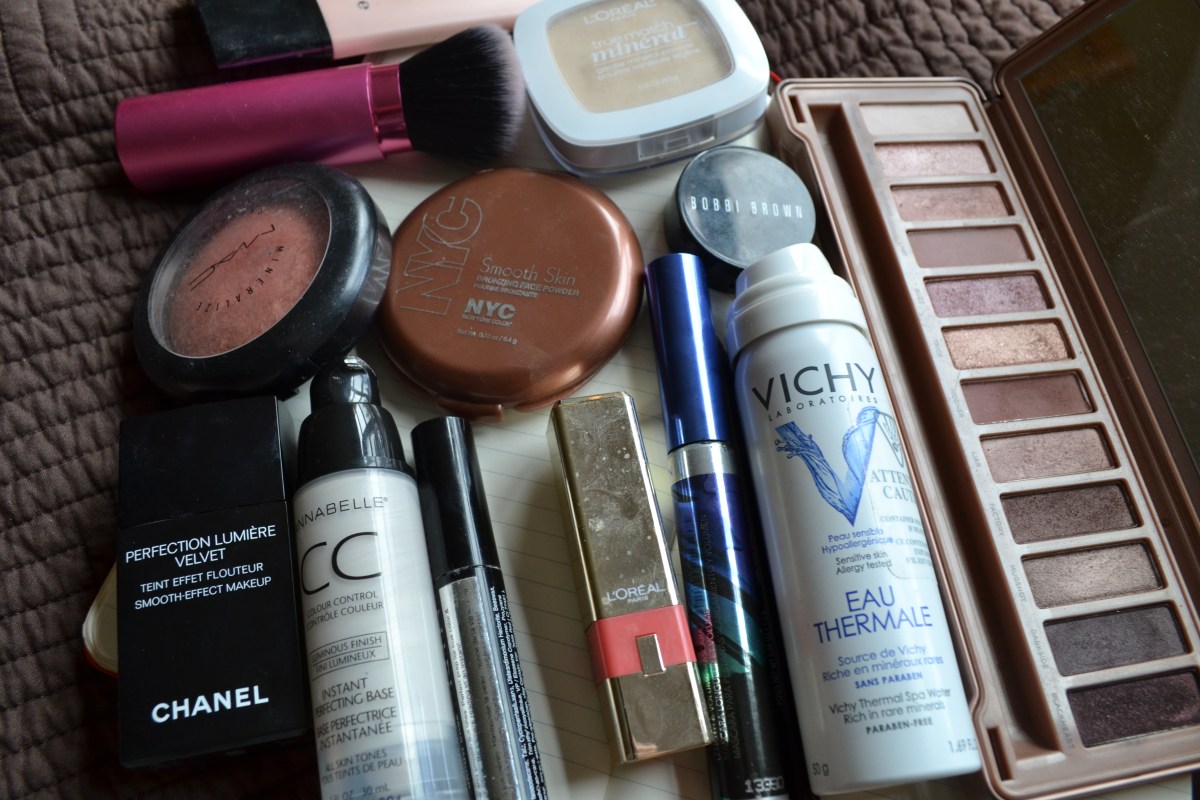
Because my skin is about as combination as it gets at the moment – my t-zone might actually appear to produce oil like any normal t-zone but I’m suffering from dry patches on the cheeks – and of course I’m suffering from my usual dehydration, the skin required the most thought in order to appear bare but much nicer. With this in mind, I began with a little bit richer of a moisturizer, the impressively lightweight Kiehl’s Skin Rescuer to make sure that whatever I put on top would not be sticking to the skin in an unflattering way. Keeping up with this theme, I also went for my primer of choice, the Annabelle CC Colour Control Luminous Finish Instant Perfecting Base, making sure to massage it into the skin. Foundation-wise, I went for a scant pump of the trusted Rimmel Wake Me Up Foundation in 100 Ivory and really went to town, buffing it into my skin to perfection with my Real Techniques Buffing Brush.
Afterwards, I really went to town on creating a natural-looking luminous and rested complexion and this was not easy especially considering the quality of my sleep as of late. As per usual, the Bobbi Brown Corrector in Light-Medium Bisque was patted underneath the eyes to camouflage darkness and afterwards the L’Oreal Magic Lumi Concealer in Fair was lightly applied and blended below the concealer to brighten that area and on the cheekbones, center of the forehead, chin and above the jawline to highlight in an undetectable way. Furthering the rested and luminous look, I put the subtle but instantly-dewy Benefit Girl Meets Pearl liquid highlighter to the tops of my cheekbones; unlike outwardly shimmery powder highlighters, this one looks invisible on the skin but fakes that luminosity to perfection. I then set my t-zone lightly with the Hourglass Ambient Lighting Powder in Dim Light, mixing in some of the Incandescent Light shade when applying to the forehead to avoid the weird effect that the shade can give off. And because I wanted to be as subtly highlighted as possible, the Hourglass Ambient Lighting Powder in Incandescent Light was dusted over the cheekbones for even more glow. I then went in with my L’Oreal Glam Bronze Mono in Universal Sun to add some (subtle) shape (and warmth) to the backs of my cheekbones before applying the peach-leaning tan MAC Tenderling Powder Blush with the Real Techniques Expert Face Brush.
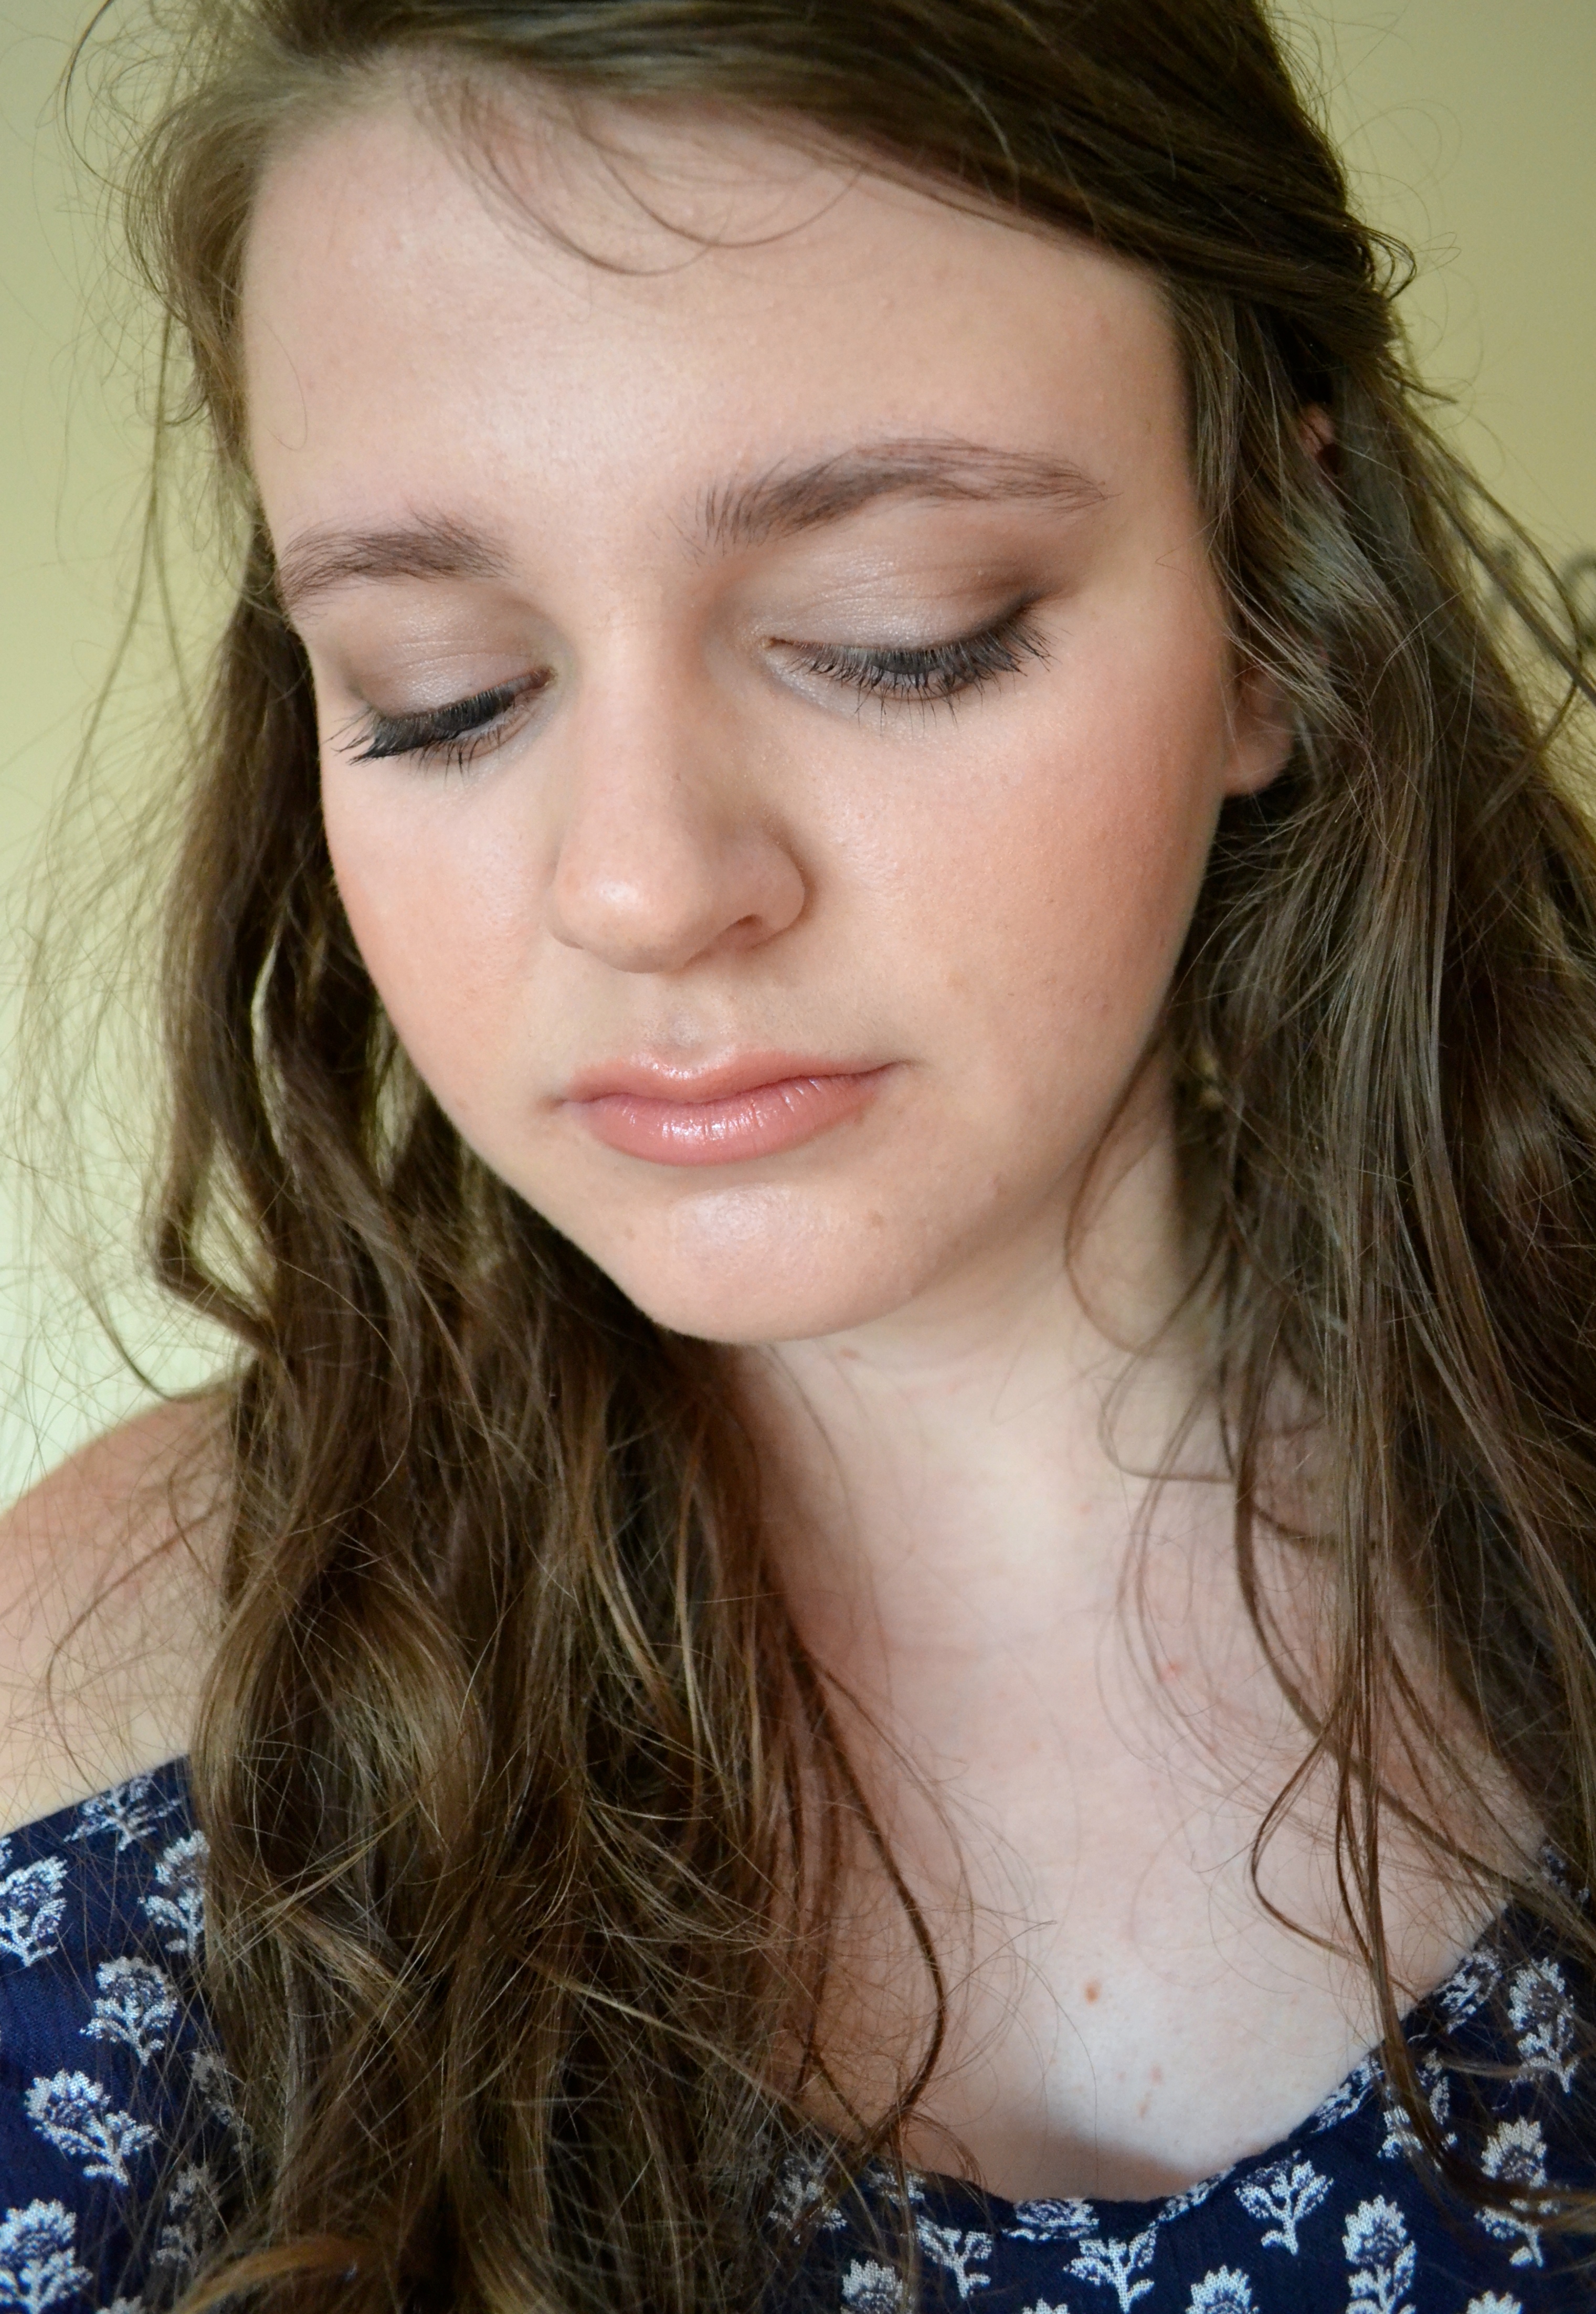
I’m pleased to inform you that the skin was the most work overall and that I didn’t spend ages and ages to look like I didn’t put any effort in at all. I began by priming my lids and correcting any discoloration with the L’Oreal Colour Riche Eye Primer before moving onto shadow. Before I begin with the explanation here, I thought I would note that I have deep set eyes so I feel that I can pull off more added depth to my eyes without looking made up in the slightest – I know for many, this would look obvious, blah, blah, blah. First off, MAC Soft Brown Eyeshadow was blended through my crease, to be followed with a generous portion of MAC Dazzlelight Eyeshadow, a cream hue with subtle golden shimmer running throughout, all over the lid and packed into the inner corner of the eyes. The last shade used was MAC Swiss Chocolate Eyeshadow, a warm reddish brown and it was then used to add depth to the crease and the outer corner. At this point I blended smudged some of the soft-black Lancome Le Crayon Khol along the outer half of the upper and lower lashlines but diffused the upper lashline further by adding more Swiss Chocolate in the outer corner and along the lashline. For mascara I chose the L’Oreal Voluminous Million Lashes Excess, as it brings definition and natural-looking volume to the lashes and obviously there had to be something done with the brows so I ran the MAC Pro Longwear Waterproof Brow Set in Quiet Brunette through them, concentrating on the outer arch portion.
The lips weren’t anything new — I simply filled them in with the Annabelle Lipliner in Demure and applied the darker warm-browny-pink based nude, the sheer MAC Patisserie Lipstick. The final touch was a few spritzes of the NYX Dewy Finish Makeup Setting Spray, eliminating any hint of powderiness to the face.