On Monday morning, I woke up and upon lazily picking up my laptop from the floor and into bed with me, I figured that I would check up on the state of my Sephora order and when I found out that it was actually here in my mailbox, I was more than a little bit excited; this excitement has not faded since opening and trying these products, either. I’m not one to make online orders really at all, but when I didn’t manage to make it into the store for the 2x/3x/4x the points event, I bit the bullet and went for the promotion online. I’m pleased to report that while I was charged duty, it was a miniscule amount and that it arrived within a week of being shipped – that’s good for us Canadians. Plus, they actually managed to give me the samples and the perk that I requested as well. Let’s get on into my small assortment of goodies but be forewarned that they aren’t the most interesting of products…
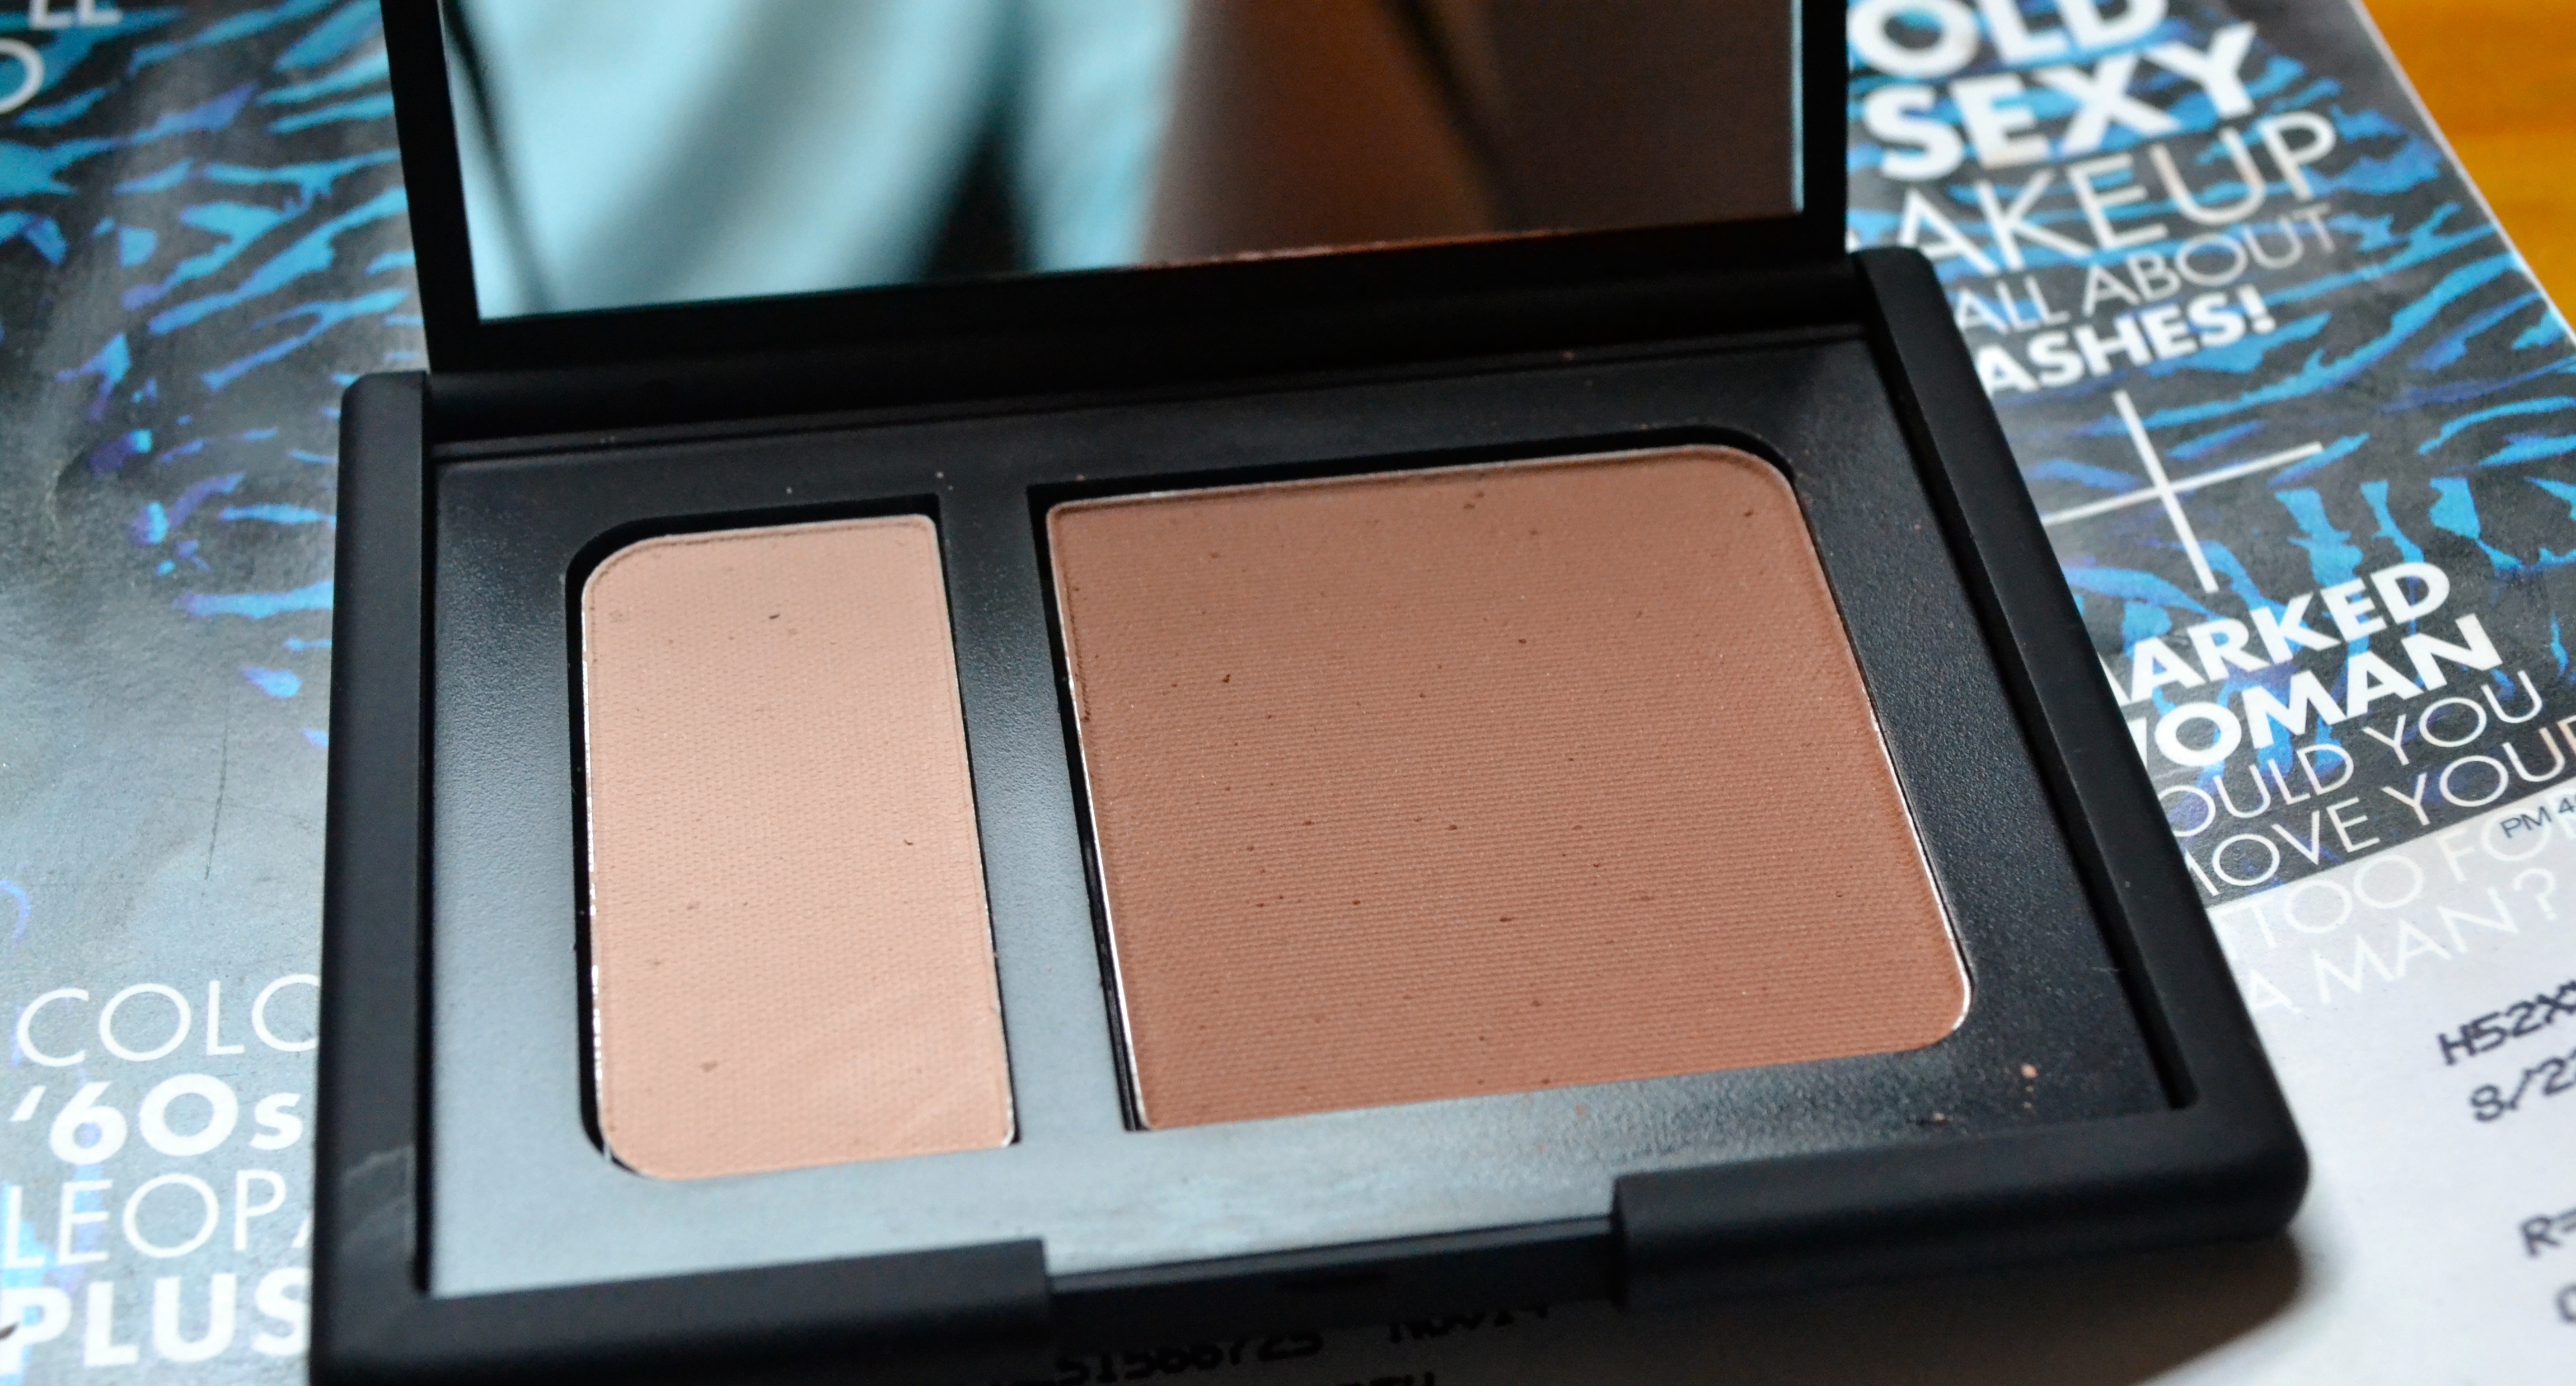
First up is the NARS Contour Blush in Paloma that I had sights set on as soon as its release into the blogosphere but had initially held off because of its price and apparent similarity to the MAC Harmony Powder Blush that I adore for contouring. There’s no way around it, the 0.28 oz duo is pricy, coming in at $42 US/ $46 CDN but I fell in love with the darker shade upon first use (and I have worn it twice), as it might not swatch amazing but as soon as its swept onto the face, there’s some magical contouring action that happens with little effort and you still look completely natural. It swatches nicely, more similar to MAC Harmony than it actually appears on the face, but applies in a much more pigmented and smooth fashion than one would expect — I think it might beat out my old favourite. While it swatches quite rosy, on my neutral-to-yellow undertones, it applies more of a muted rosy tan hue, with much more brown in it. It doesn’t appear pink on my skin at all, which I had previously thought it might do. Plus, it hadn’t faded on my face within 10 hours — brownie points, anyone? As you can likely imagine, I purchased the duo mainly for the contouring shade but the soft-matte “highlighting shade” is nice, too. It doesn’t really seem to show up on my wrist as it’s always slightly paler than the rest of my body but because of this, I feel that it can be used to set the undereyes and other areas of the face without difficulty while still brightening things up.
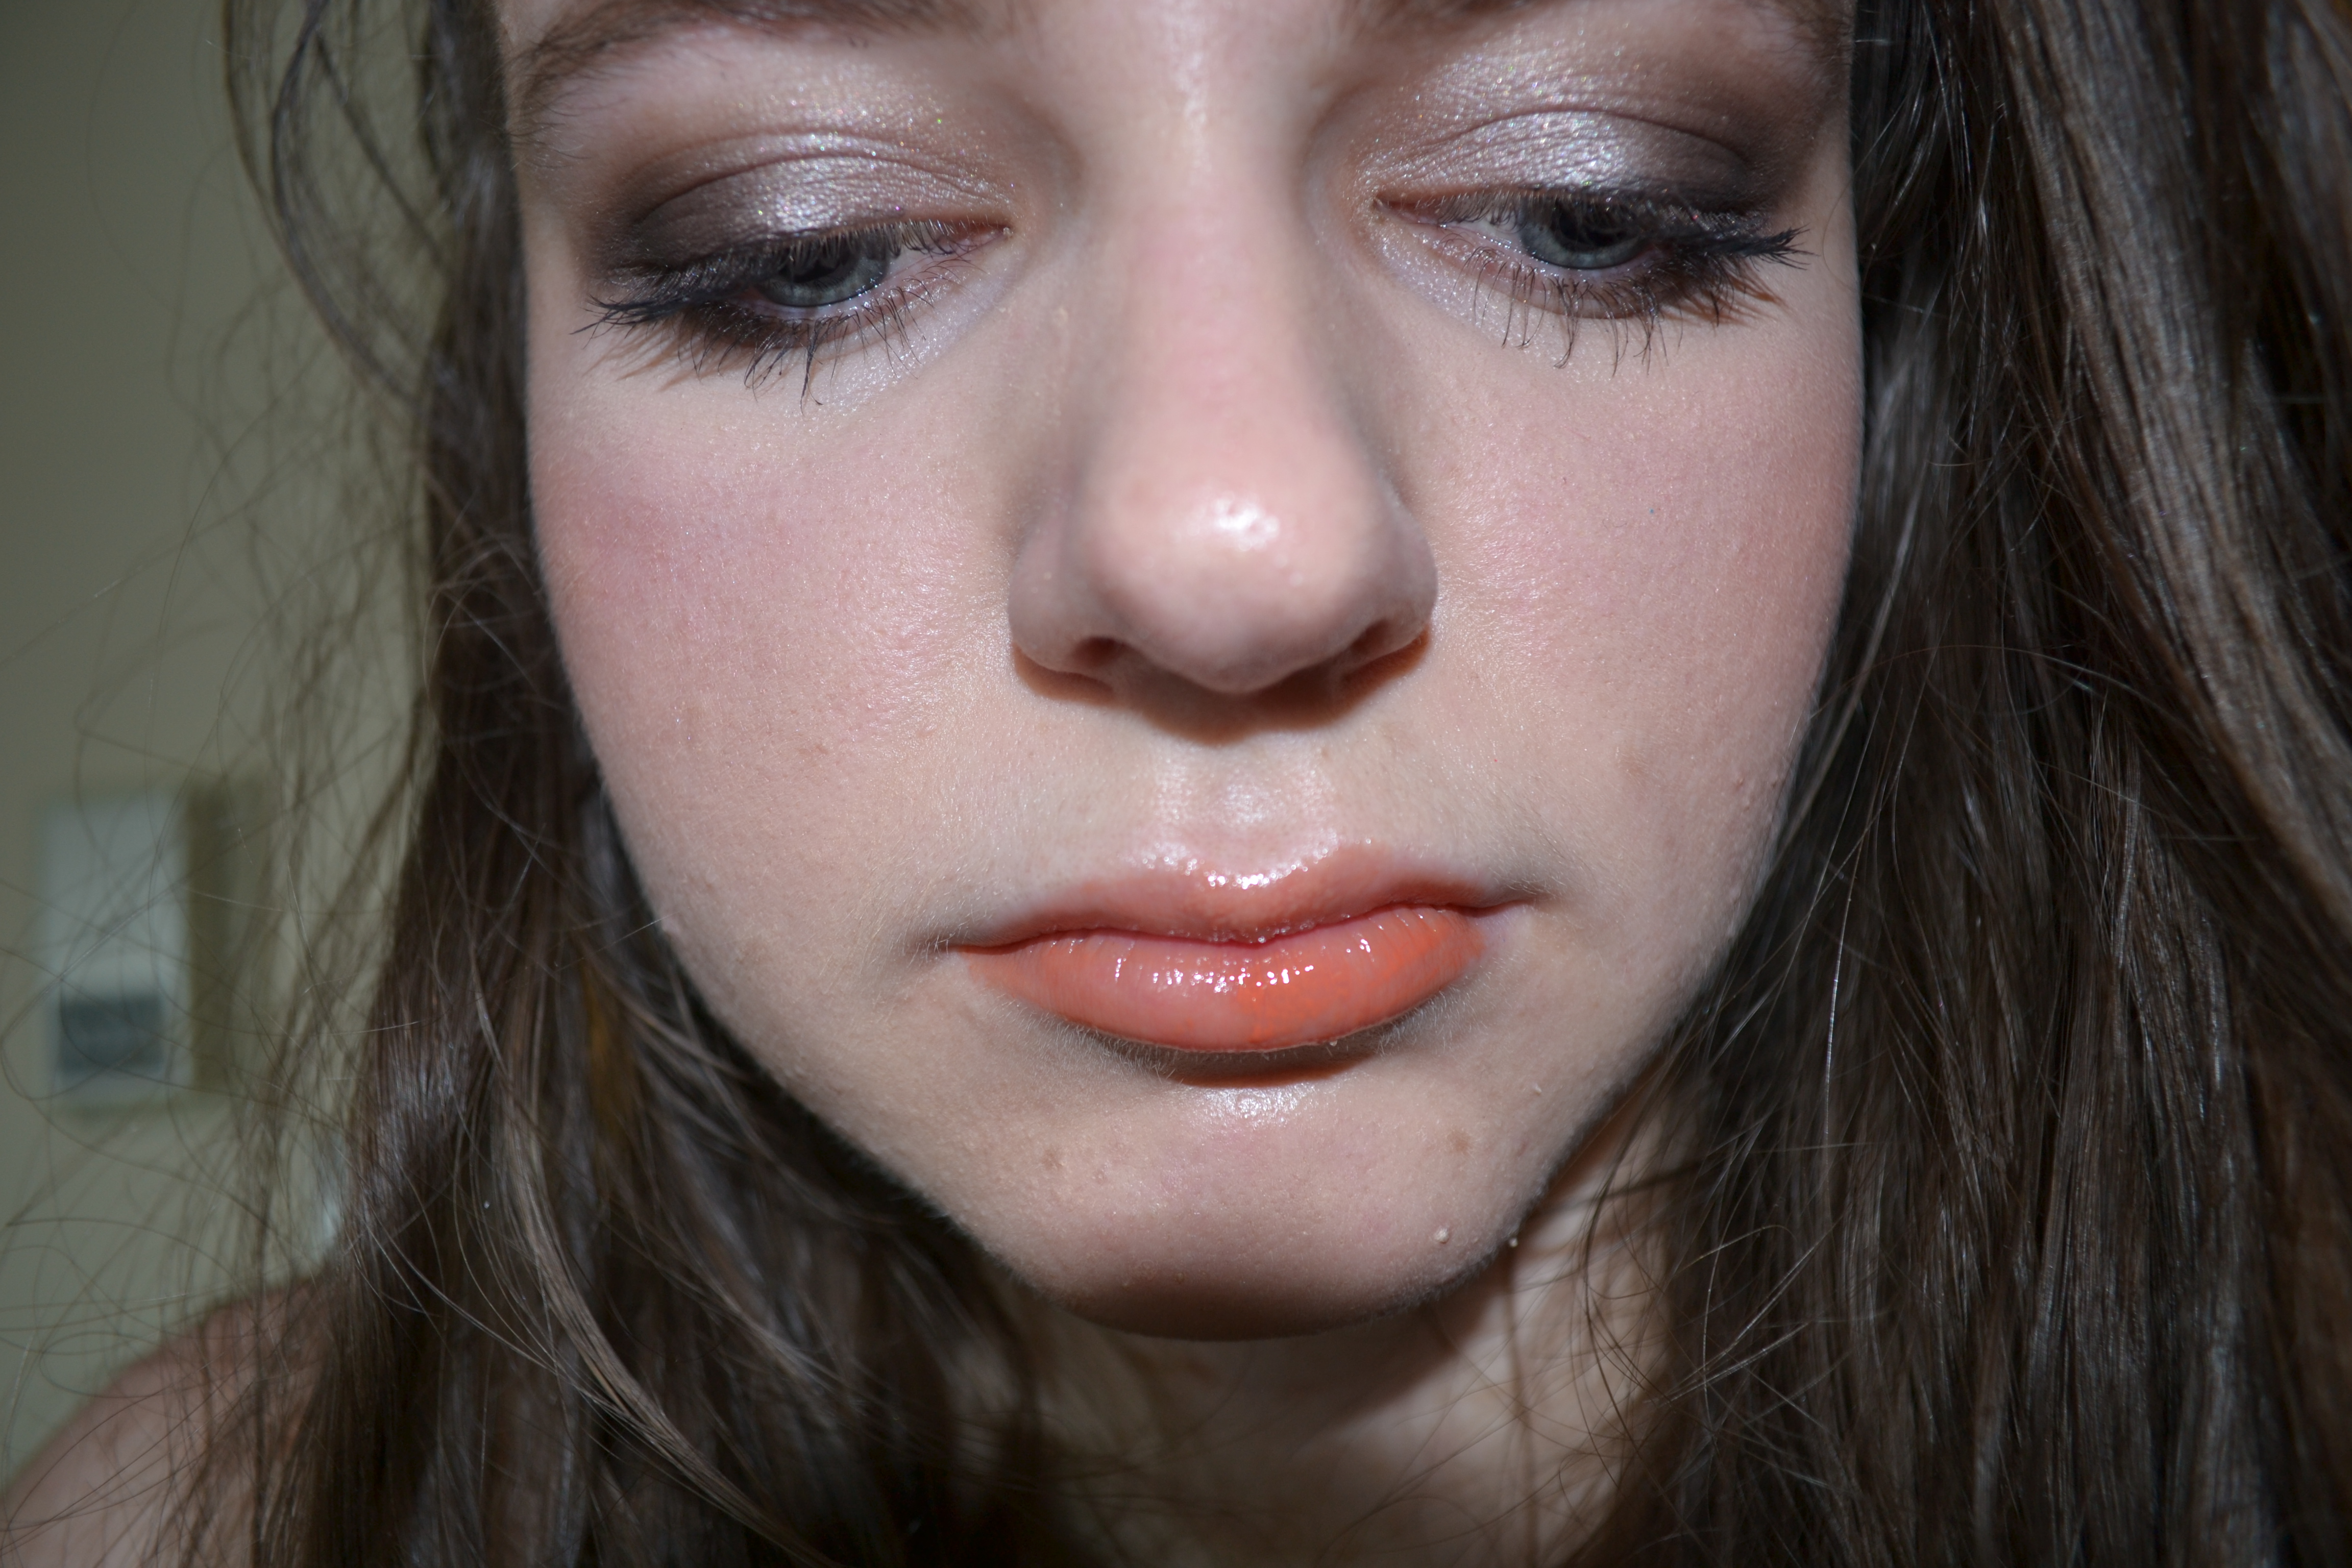
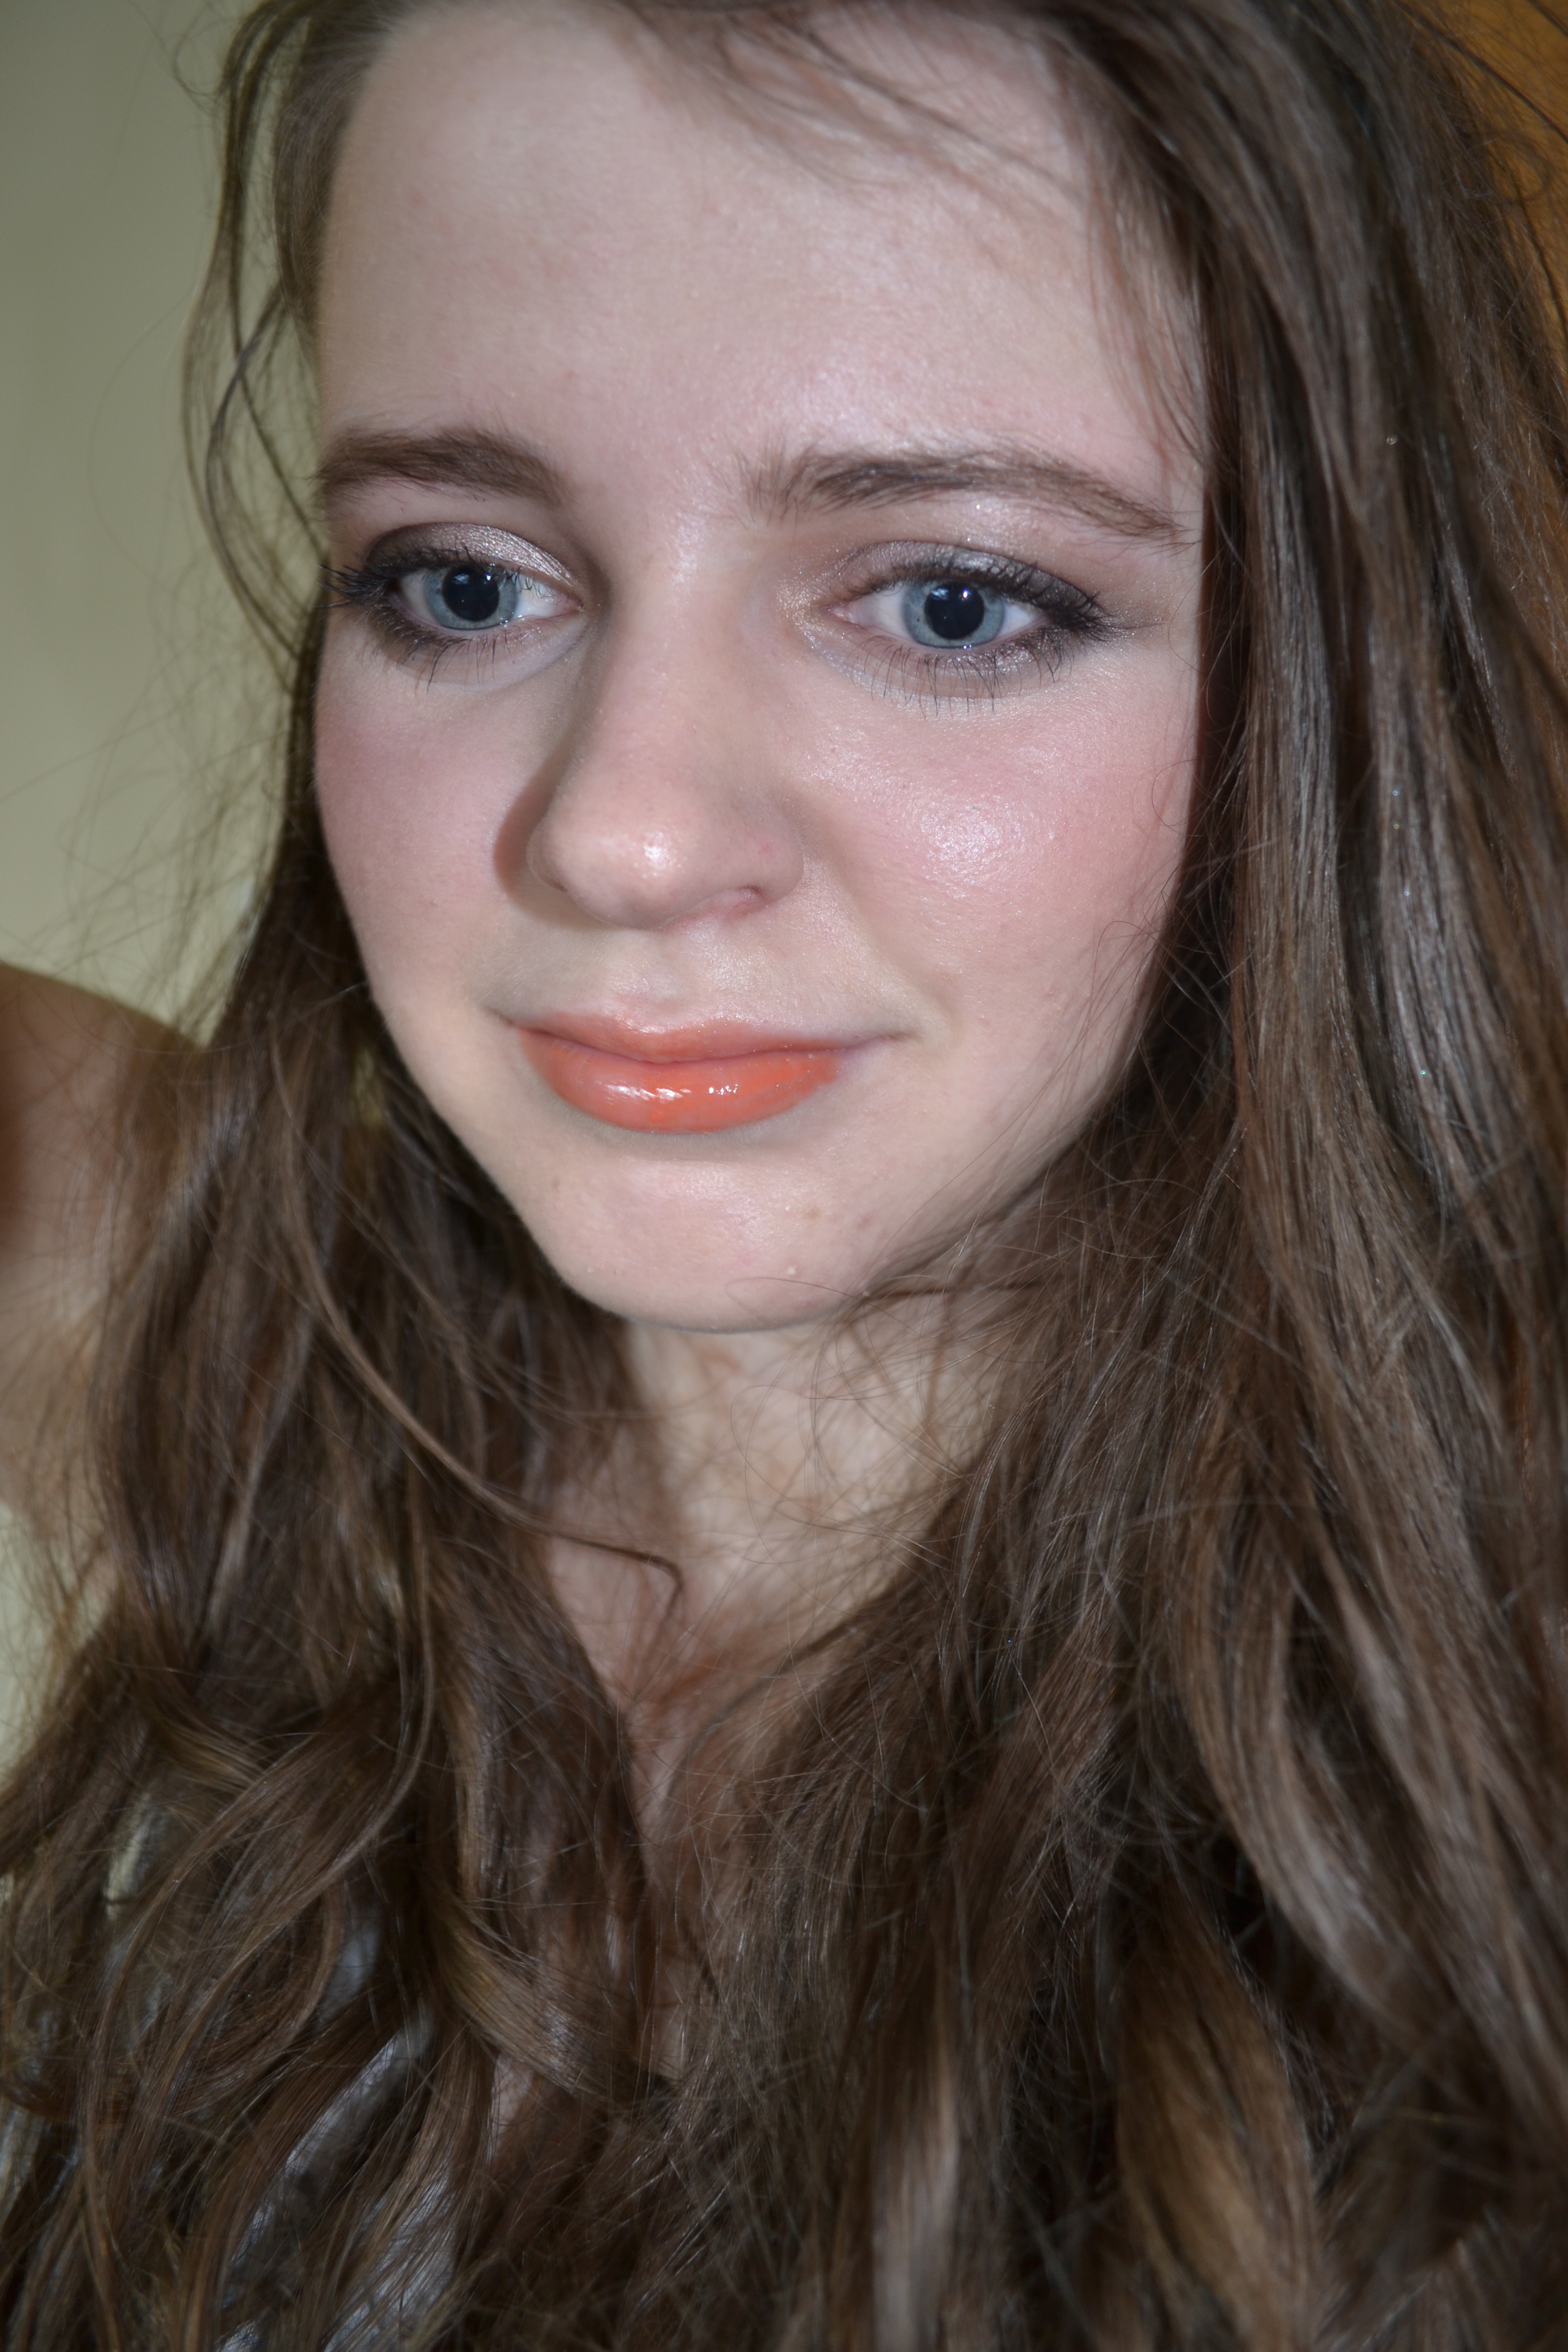
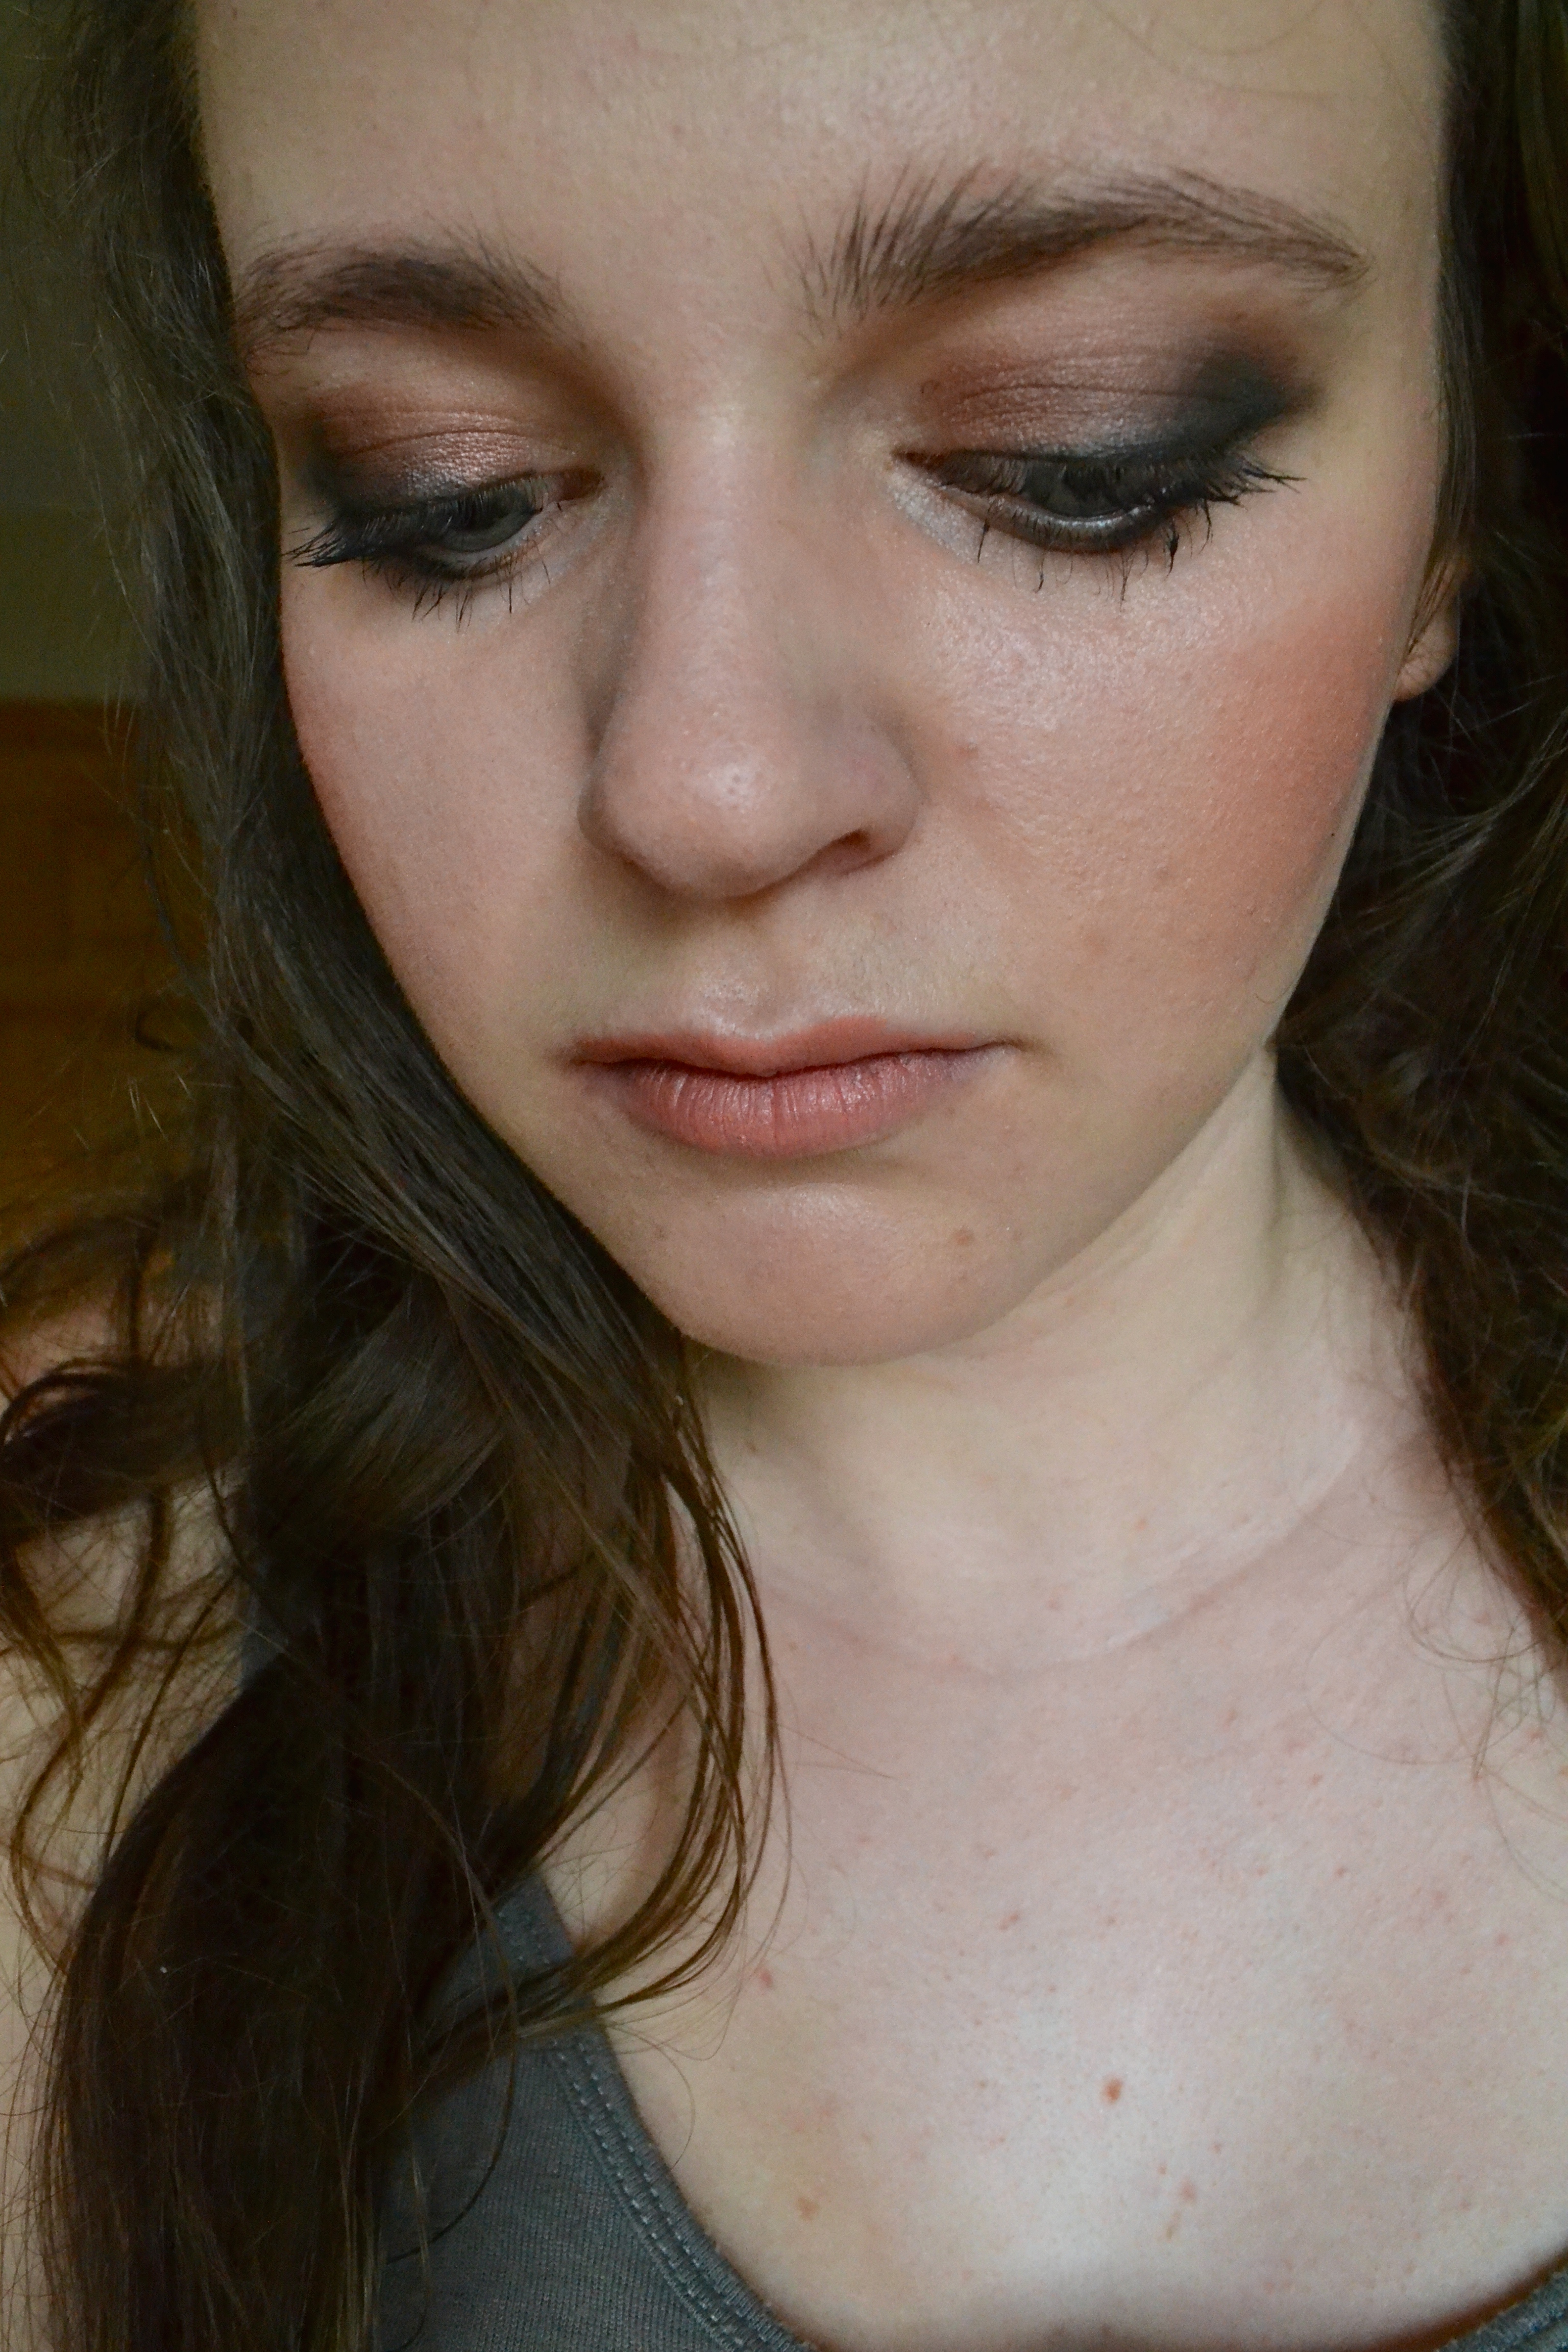
Below: NARS Contour Blush in Paloma (both shades), with MAC Harmony on the right for comparison. And after that, my face today featuring both this product and the next one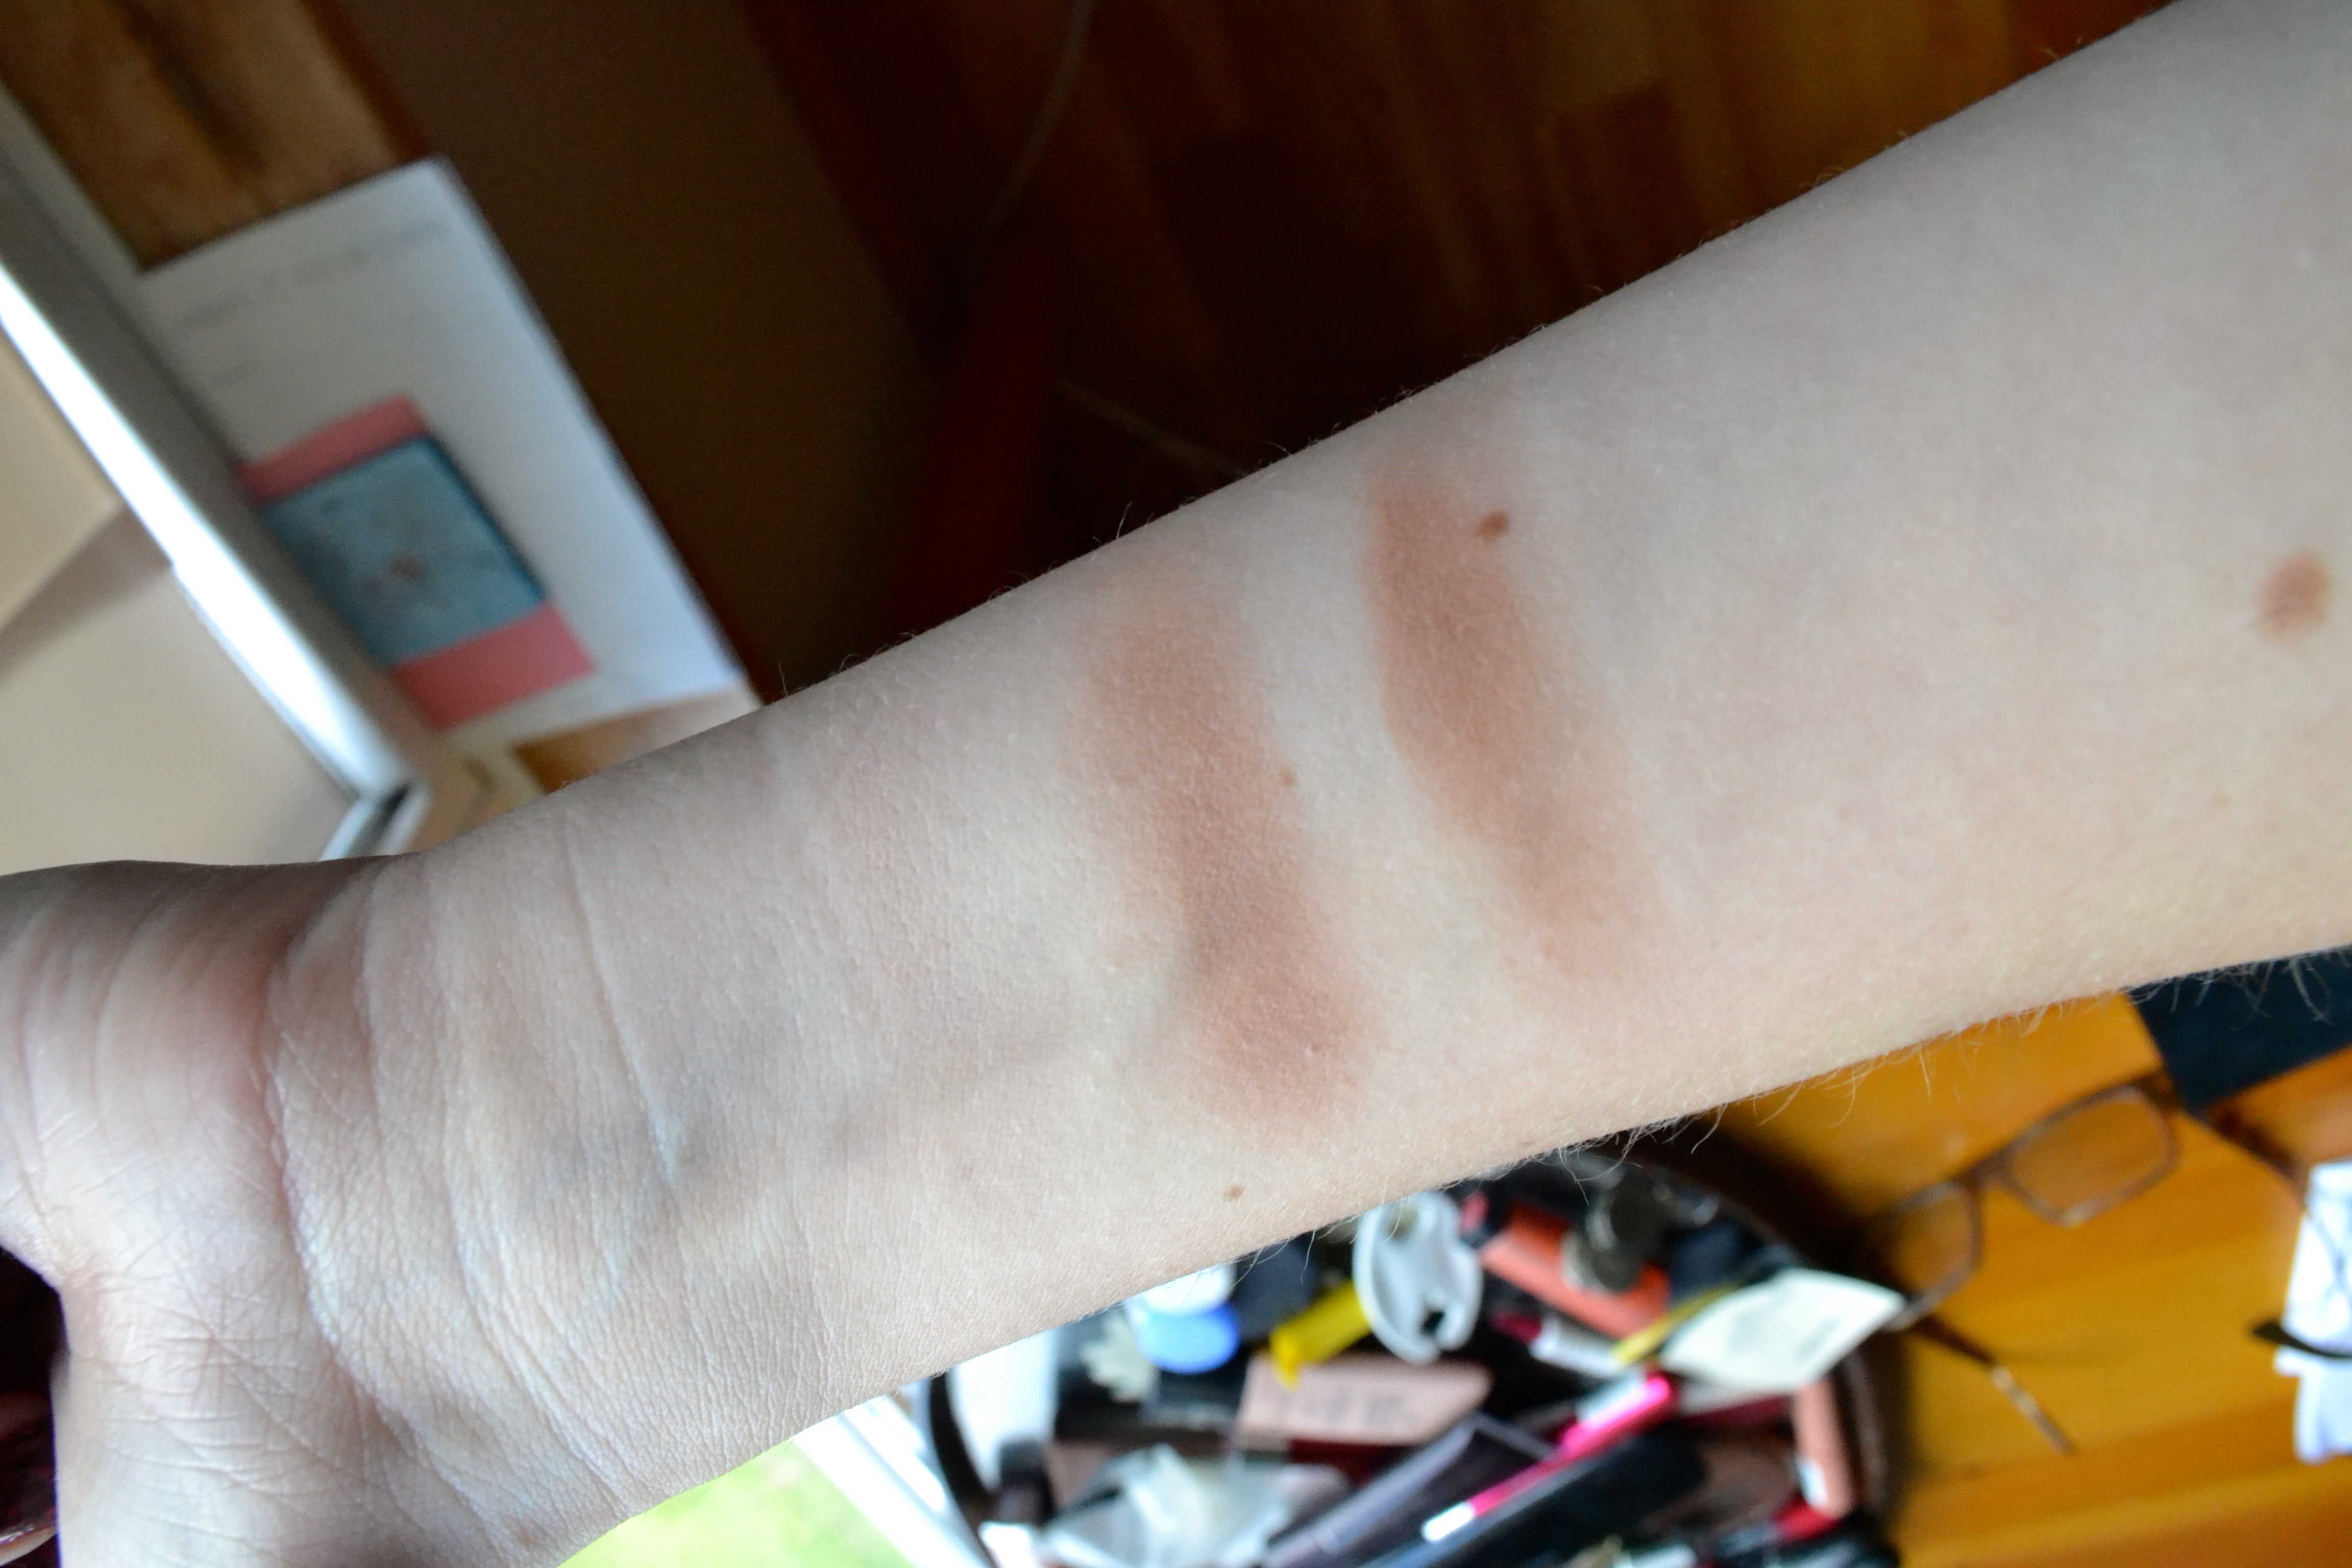

The next product was nothing glamorous but as I’ve heard fabulous things for ages about the NARS Smudge Proof Eyeshadow Base ($25 US/$29 CDN) and have had it on every single wishlist I’ve made myself for more the year, I finally went for the eyeshadow primer. I have difficulty with eyeshadows creasing despite not having oily eye lids and it’s been getting worse as of late so the purchase only seemed to be rational. I do have deep set eyes so I have eyes that are more creased at the socket generally, though. While I’m not sure if this is life-changing yet, it’s definitely a primer that works thus far and one that dries down quickly.
If you’ve been a reader for a while – thank you! – then I’m sure you’ve heard me ramble on about my love for the Caudalie Vinosource Moisturizing Sorbet (until it ran out at least) and now that I noticed how close I was to the end of my current moisturizer, I decided to bite the bullet and go for the slightly more intense but-not-heavy formulation from the same line. I’ve used the Caudalie Vinosource Intense Moisture Rescue Cream ($39 US/$40 CDN) three times since it’s arrival so I can’t say anything definite but it seems to me that this has impressed me even with my prior high expectations. Like promised, the antioxidant-rich cream seems to soothe the skin while being extremely hydrating. I’ll definitely keep you posted.

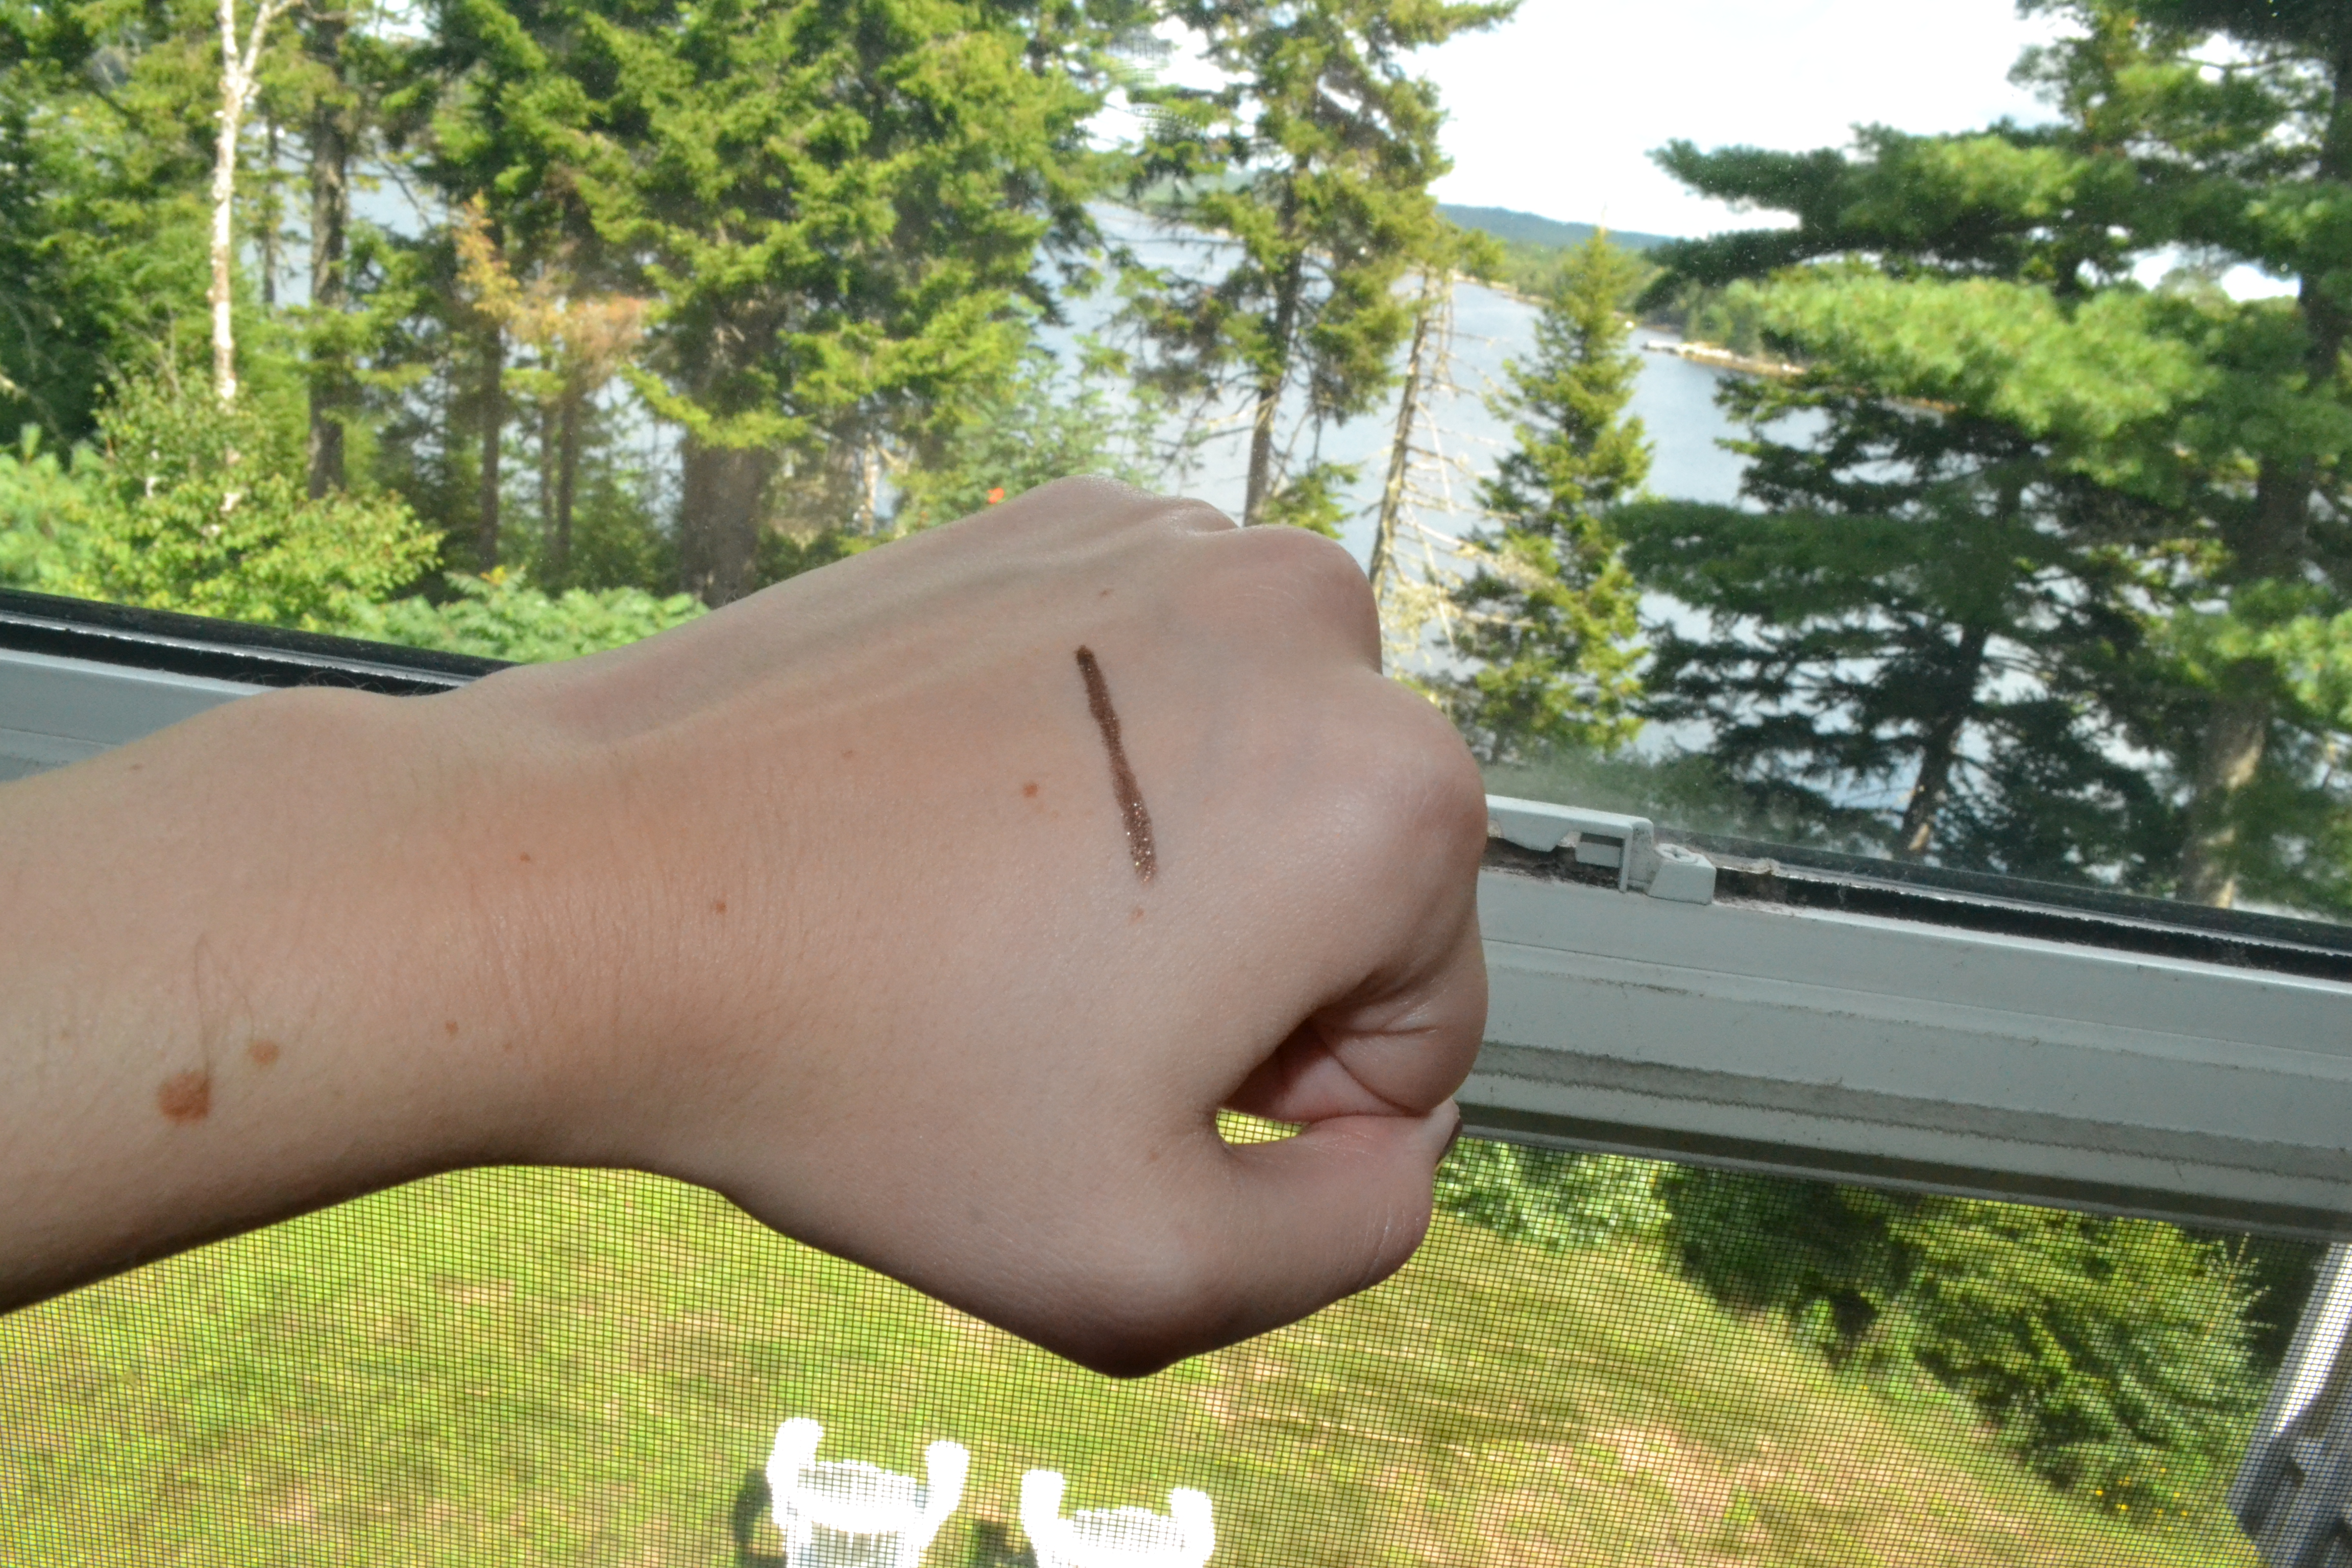
I’m not normally one to spend time discussing samples but as the 100 point perk that I included with my order has astounded me, I figured I would give them some attention in photographic form. I haven’t tried any of the three yet but I have tried the sample size of the Marc Jacobs Beauty High(Liner) in Brown(Out) and was amazed with the rich deep bronze liner that applied as if it were liquid and stayed put like a champ. I’m not wearing this today but I wore it yesterday and it seems to be blowing most liners out of the water with its intense colour and actual authentic creamy texture that doesn’t go waxy or break of instantly. Let’s hope it stays this way.